That beautiful framed textile you’ve been waiting to display deserves a perfect spot, but the thought of drilling into your pristine walls can be daunting. Thankfully, learning how to hang pictures without damaging walls is easier than you think. It's all about using smart solutions, getting clever with your display techniques, and understanding your walls to create a stunning gallery that’s completely reversible.
Why Your Walls Deserve a Break From Nails
You’ve found the perfect piece of art. Maybe it’s a vibrant family photo pulsing with color, or a cherished textile, soft and rich with memories from your travels. The last thing you want is for that excitement to fade under the dread of permanent holes, messy spackle, and the nightmare of matching paint. This isn't just about keeping things neat; it's about preserving the canvas of your home.
It's a common worry. A staggering 68% of renters say wall damage from hanging pictures is a primary concern, often leading to deductions from their security deposit. Old-school methods leave behind wounds that need to be patched and repainted, a surprisingly costly fix. It’s this shared frustration that has so many people searching for smarter, kinder ways to display their memories.
The Modern Approach to Wall Decor
Going damage-free with your decorating isn't about compromise—it's about freedom. It gives you the power to:
- Experiment Fearlessly: Want to change your layout with the seasons? You can completely refresh a room's energy without any long-term commitment.
- Preserve Your Space: This is a game-changer for renters, new homeowners, or anyone who simply loves their immaculate walls.
- Simplify the Process: Most no-nail solutions are incredibly quick to install and don’t require a toolbox or special skills.
The goal is to fill your home with personal, meaningful art without leaving a lasting, unwanted mark. It’s about creating a space that feels uniquely yours, with the flexibility to evolve as your life and tastes change.
Think of this guide as your friendly roadmap. We’ll walk through the best methods for how to hang pictures without damaging walls, from innovative adhesive strips to the chic art of leaning frames. You'll gain the confidence to decorate any surface, knowing you can change your mind anytime. For more ideas on keeping your decor fresh, explore the benefits of changeable picture frames.
Choosing Your No-Nail Hanging Method
So, you're ready to hang your art without turning your walls into Swiss cheese. Fantastic. Learning how to hang pictures without damaging walls comes down to picking the right tool for the job. You have a whole arsenal of options, and each one shines in a different situation.
Think of it like this: you wouldn't use a sledgehammer to hang a tiny, delicate photo. The same logic applies here. Your damage-free toolkit has everything from heavy-duty adhesive strips for that big canvas you love, to gentle putty that’s perfect for your child’s latest watercolor masterpiece.
This guide helps visualize the basic choice you'll be making.
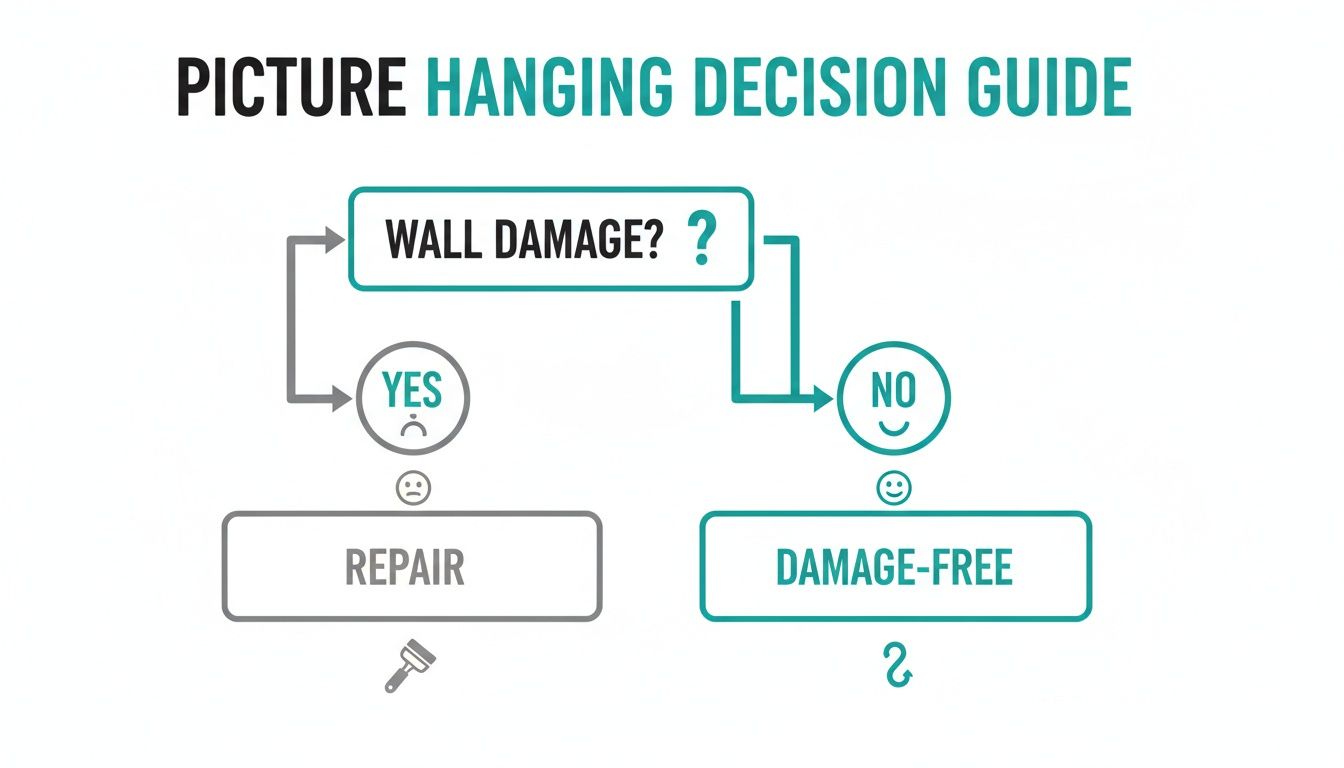
The goal, of course, is to stay on that "No" path. It’s the one that keeps your walls pristine and saves you from a spackling nightmare later on.
Adhesive Strips and Hooks: The Renter's Best Friend
When most of us think about damage-free hanging, adhesive strips are the first things that come to mind. And for good reason—they're incredibly versatile and work like a charm if you use them correctly. The biggest mistake people make is treating them like regular stickers.
The secret is all about preparation and a little patience. Start by wiping the spot on your wall with rubbing alcohol. This removes any dust or oils that could interfere with the bond. Once you apply the strip, press it firmly against the wall for a solid 30 seconds. Then—and this is the part everyone skips—let it cure for at least an hour before you hang your frame. This gives the adhesive time to create a seriously strong hold.
Pay close attention to the weight limits printed right on the package, which can range from a few pounds to upwards of 20 pounds. My advice? Always give yourself a buffer. If your art weighs 7 pounds, grab the strips rated for 10 or 12. It's better to be safe than sorry.
Removable Putty: For the Light and Whimsical
For all the lightweight items in your life—unframed photos, posters, a stream of drawings from the kids—removable putty is a lifesaver. It’s inexpensive, reusable, and wonderfully forgiving. If you don't like where you placed something, just peel it off and try again. No harm, no foul.
But let's be realistic; putty has its limits. It’s absolutely not meant for anything with the weight of a frame and glass. It’s the go-to for casual, low-stakes decorating, like a gallery wall in a teenager's room or for putting up holiday cards. Its biggest selling point is that it leaves zero residue behind.
To give you a clearer picture, here’s a quick rundown of the most popular damage-free methods and where they shine.
Comparing Damage-Free Hanging Methods
This table breaks down the go-to no-nail solutions to help you pick the perfect one for your artwork and your walls.
| Method | Best For | Weight Limit | Pros | Cons |
|---|---|---|---|---|
| Adhesive Strips/Hooks | Small to medium framed art, canvases, decor items | Up to 20 lbs | Strong hold, widely available, variety of sizes | Requires clean surface prep, must follow cure times, can peel paint if removed incorrectly |
| Removable Putty | Unframed photos, posters, kids' art, very lightweight items | Less than 1 lb | Reusable, forgiving, leaves no residue, very inexpensive | Not for framed or heavy items, can lose grip in humid conditions |
| Tension Rods | Lightweight art in alcoves or between two surfaces (e.g., bookshelves) | ~5-10 lbs (varies) | No wall contact at all, unique look, adjustable | Only works in specific spaces with parallel walls |
| Picture Rails | Collections of art, frequent rearranging, heavier pieces | 25-100+ lbs (system-dependent) | Ultimate flexibility, hang multiple pieces, sophisticated look | Requires one-time installation of the rail with screws |
Ultimately, the best choice depends entirely on what you're hanging and where. For most everyday frames, adhesive strips are a solid bet, but for true flexibility, a picture rail is an amazing investment.
Tension Rods: The Unsung Hero
Here's a clever trick that often gets overlooked: tension rods. They're perfect for hanging lightweight art in alcoves, window recesses, or between a pair of bookshelves without making a single mark. The rod creates gentle pressure between two surfaces, giving you a stable bar to hang things from with beautiful ribbons or invisible fishing line.
This method is fantastic for a series of small prints or a lightweight tapestry. Imagine a row of botanical prints hanging in a sunny nook, their delicate lines catching the light. It’s a creative approach that adds an architectural vibe to your space. Just remember, this is for featherweights only. If you're hanging a larger piece, like a custom canvas, you'll want a more robust solution. We have some great tips in our guide on how to properly hang a canvas print.
Picture Rails: The Classic, Flexible Solution
Picture rails are an old-school architectural feature making a huge comeback, and for good reason. They are the absolute best solution for anyone who loves to swap out their art. A picture rail is a molding installed high up on the wall, near the ceiling. You hang your art from it using special hooks and wires.
The real magic of a picture rail is the freedom it gives you. You can change the height, spacing, and the art itself in just a few minutes, all without making a new hole.
Yes, installing the rail itself requires screws, but it’s a one-and-done project that unlocks a lifetime of damage-free decorating. It turns your wall into a dynamic, personal gallery. It's a bit more of an upfront commitment, but it’s arguably the most practical and elegant way for how to hang pictures without damaging walls for the long haul.
Mastering the Art of Leaning and Layering
Sometimes the best way to hang pictures without damaging walls is to avoid hanging them altogether. Leaning your art is a favorite designer trick for a reason—it brings an effortlessly chic, curated vibe to any space. It turns mantels, bookshelves, and console tables into dynamic displays, no tools required.
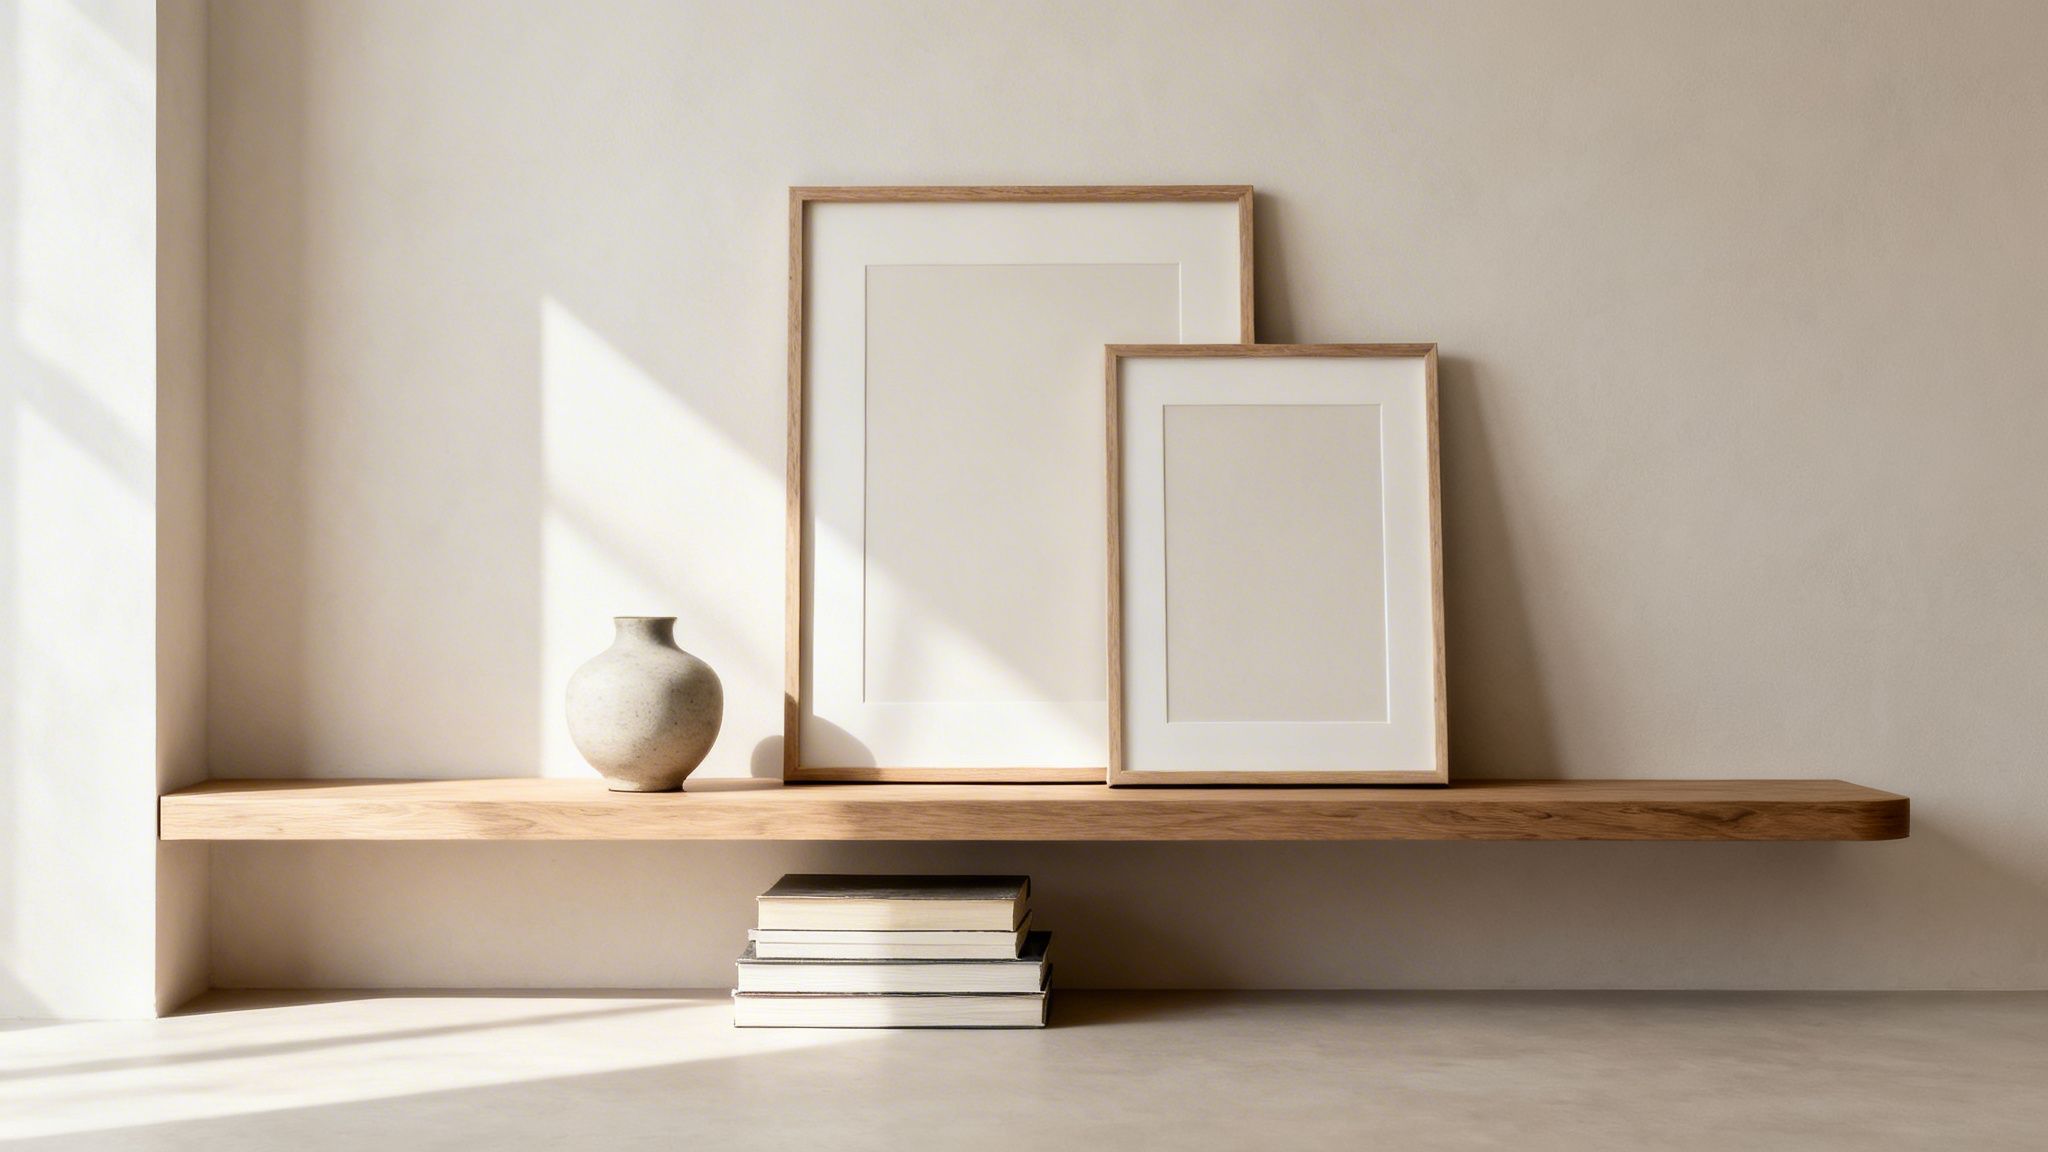
This method is all about flexibility. You can swap out pieces on a whim, give your display a seasonal refresh, or simply play around with different combinations until the look feels just right. And the best part? It guarantees zero wall damage.
Create Depth with Thoughtful Layering
The secret to a stunning leaned display is in the layering. This isn’t about just propping up frames randomly; it’s about creating a visual story with depth and interest. A great way to begin is by selecting a large, anchor piece to build around.
Start by placing your largest frame at the back, perhaps a little off-center. This becomes the foundation of your vignette. From there, bring in a medium-sized piece, letting it overlap the first one slightly. To finish the look, add a small frame or an object like a tiny sculpture or a plant in front.
Here are a few combinations to play with:
- Varying Orientations: Mix horizontal and vertical frames to create a dynamic tension that keeps the eye moving.
- Mixing Frame Styles: Combine different looks. A sleek, modern black frame next to a rustic wood one with a hint of metallic gold can create a beautiful, "collected-over-time" aesthetic.
- Playing with Textures: Pair a smooth, glossy photo print with something more tactile, like the soft weave of a framed textile, to add sensory depth.
Choosing the Perfect Surface for Your Display
Almost any flat surface can be transformed into your own miniature gallery. The trick is to match the scale of your art to the size of the surface to keep things feeling balanced and intentional.
In a living room, try leaning a large, dramatic piece of art on the floor behind a sofa or sideboard. This makes a bold, modern statement that feels both deliberate and incredibly casual. Of course, a fireplace mantel is the classic choice, perfect for a clean, symmetrical arrangement or a more organic collection that tells a personal story.
Leaning art isn't just a renter-friendly fix; it’s a deliberate design choice. It suggests a space that is truly lived-in, personal, and always evolving to reflect the style of the people who call it home.
This approach also fits perfectly into the growing trend of sustainable decorating. As more people look for greener solutions, leaning art has seen a 40% surge in popularity because it sidesteps any puncture damage. It's a beautiful way to show off what you love while being kind to your walls—and the planet. For more on this, you can explore how hanging environments affect your art.
The Power of the Picture Ledge
If you love the leaned look but crave a bit more structure, picture ledges are the perfect solution. These narrow shelves are designed specifically for displaying framed art, giving you the ability to create a full gallery wall with maximum flexibility and minimal long-term commitment.
Picture ledges go up with just a few screws, but once installed, you're free to rearrange your art as often as you like with no more holes. This makes them one of the absolute best methods for how to hang pictures without damaging walls over time. You can easily overlap frames, mix in small decorative objects, and create a flowing, cohesive look that’s nearly impossible to achieve with individually hung pieces.
This method works especially well in hallways or above a desk, where you might want to frequently update photos and prints. A single ledge can hold an entire story, giving you a dedicated space to showcase what matters most.
Handling Tricky Wall Surfaces Without Damage
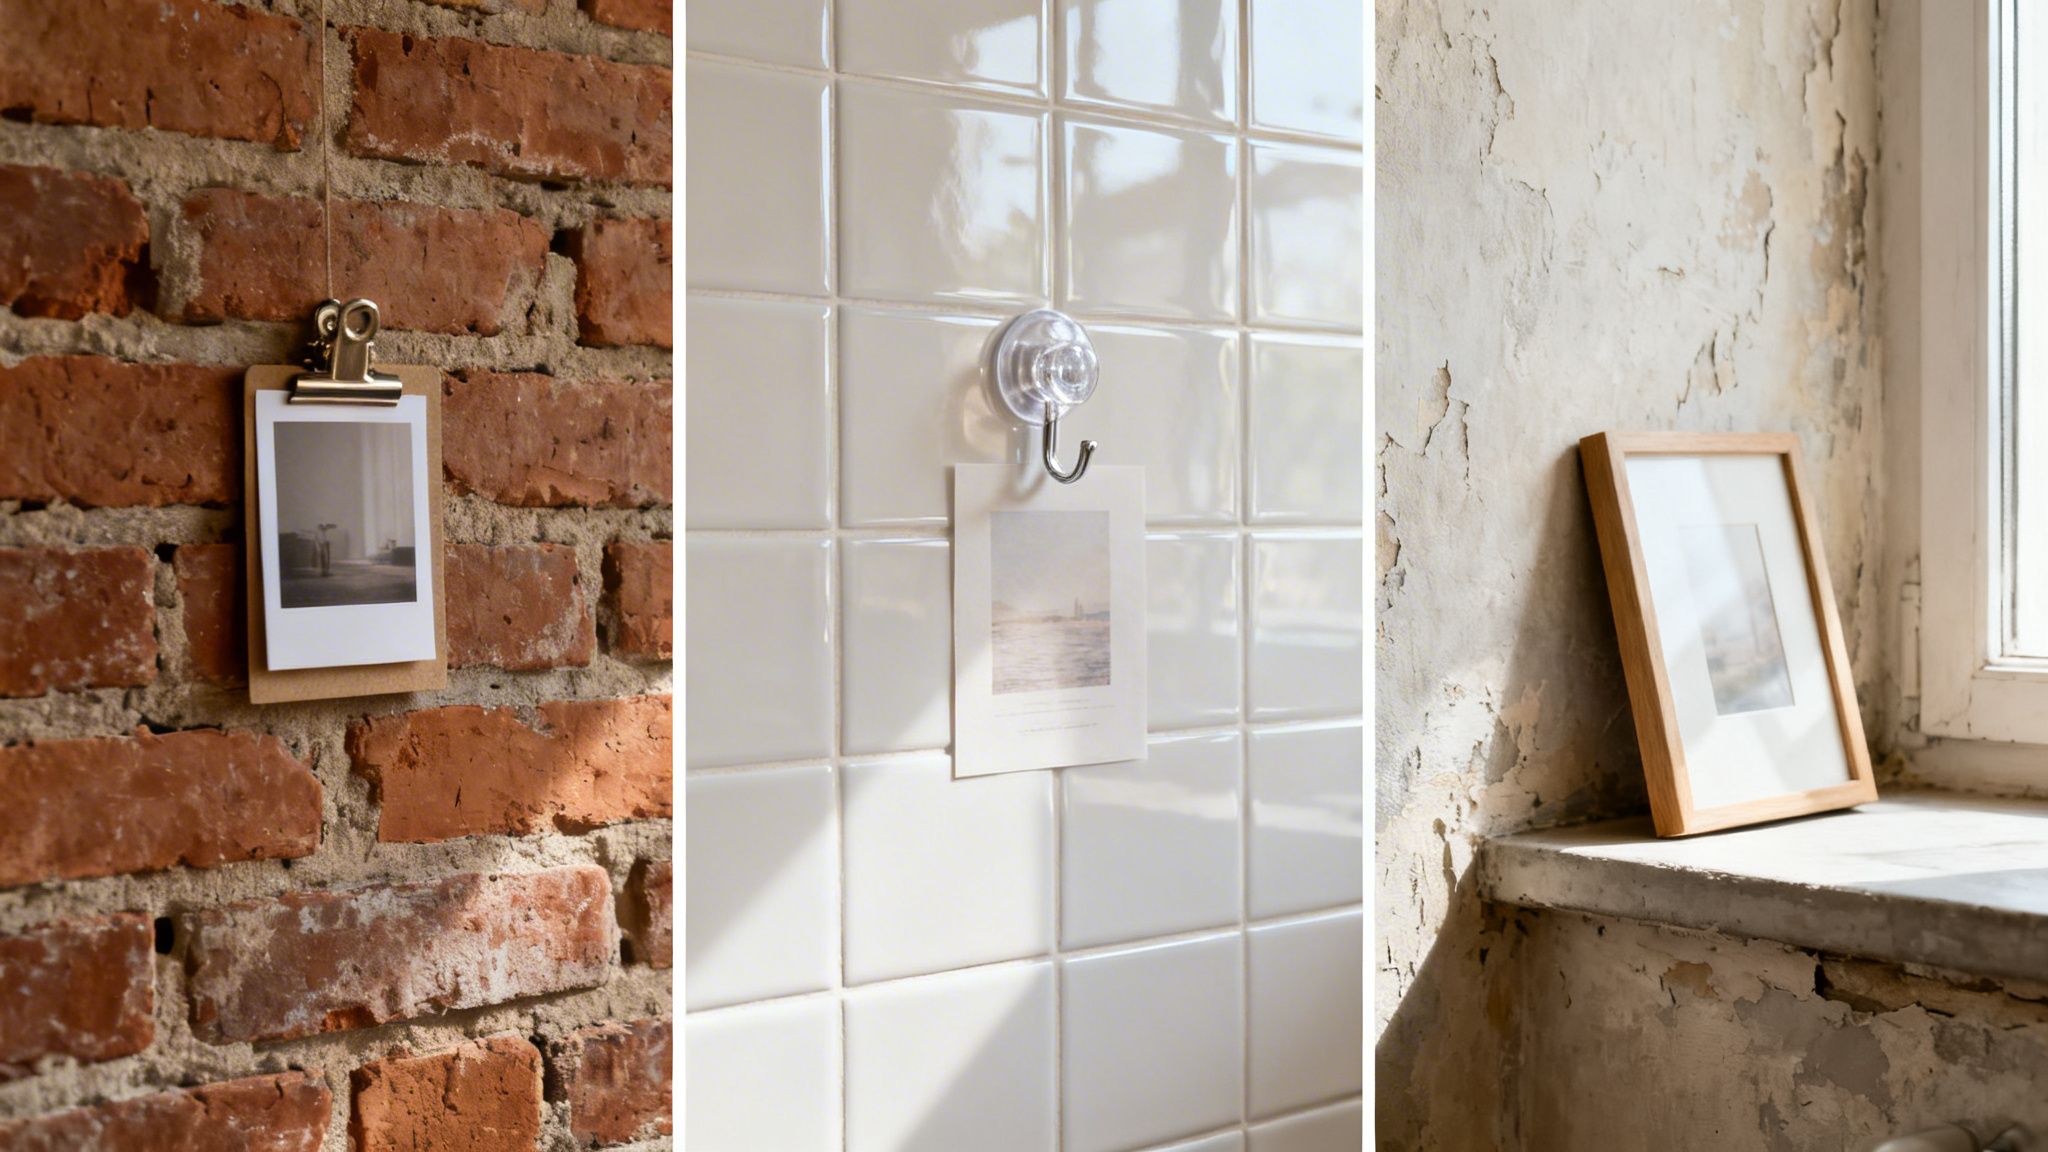
Not all walls are created equal. Some surfaces, like exposed brick, delicate plaster, and glossy tile, can feel intimidating when your goal is to hang pictures without damaging walls. But they don't have to stop your decorating plans. With the right approach, you can hang art on even the most challenging spots in your home.
The trick is to understand what makes each surface unique and pick a method that works with its properties, not against them. Forget the one-size-fits-all approach; these special walls simply need a little extra thought to keep your art secure and your surfaces pristine.
Charming but Challenging Exposed Brick
Exposed brick brings a ton of character and warmth to a room, but it’s notorious for resisting standard hardware. Drilling into brick is messy, permanent, and can easily chip or crack the brick face—a mistake you want to avoid.
Fortunately, there’s a fantastic tool made just for this: brick clips. These clever metal fasteners grip the top and bottom edge of a single brick, using tension to create a solid hanging point. No drills, no adhesives—just a sturdy hook that uses the brick’s own shape for support. When shopping for them, make sure the clip matches the height of your bricks. Most are slightly adjustable and can hold up to 25 pounds, making them perfect for most medium-sized frames.
Preserving Delicate Plaster Walls
Older homes often have beautiful lath and plaster walls. They have a unique charm but can be incredibly fragile. Unlike modern drywall, plaster can easily crumble or crack if you try to hammer a nail into it, leaving you with a much bigger fix than a simple pinhole.
Adhesive solutions are usually your best bet for these sensitive surfaces. High-quality adhesive strips can work well, as long as the plaster is in good shape and not already flaking. The safest and most elegant option, however, is to lean your art.
Leaning art on a mantelpiece or a stylish console table against a plaster wall gives you all the visual impact without any of the risk. It’s a respectful way to decorate a historic home, preserving its integrity while adding your personal style.
Tackling Tile and Other Glossy Surfaces
Kitchen backsplashes and bathroom walls are often covered in tile—a surface that’s beautiful, durable, and completely unforgiving of holes. Drilling into tile is a high-stakes move that can easily lead to cracks, which are expensive and difficult to repair. This is where specialized damage-free solutions truly shine.
For lighter items, suction cup hooks are a great choice. Modern versions have impressive holding power on smooth, non-porous tile. For a stronger, more reliable hold, look for waterproof adhesive strips designed for bathrooms and kitchens. They’re made to handle the humidity and temperature swings in those spaces.
When applying any adhesive to tile, preparation is everything:
- Clean the Surface Thoroughly: Use rubbing alcohol to wipe away any soap scum, grease, or residue.
- Press Firmly: Ensure the entire adhesive pad makes full contact with the tile for a secure bond.
- Respect the Cure Time: Always wait at least an hour—or whatever the package says—before you hang anything.
By choosing the right tool for these tricky surfaces, you can confidently display your favorite pieces anywhere. This thoughtful approach is the real secret to how to hang pictures without damaging walls, no matter what they're made of.
A Modern Approach to Flexible Wall Decor
We've walked through fantastic temporary ways to get your art on the wall. But what if you could have the solid, high-quality look of a professionally mounted piece and the flexibility of a damage-free system? It’s time to think about wall decor in a new way—one designed from the ground up to protect your walls while letting your style evolve.
The idea is simple but revolutionary: a single, high-quality aluminum frame becomes a permanent fixture on your wall. Once it’s up, the art itself—a vibrant fabric print—can be swapped out in seconds. No new hardware, no re-measuring, and definitely no new holes. This completely changes how you live with your art.
One Frame, Endless Possibilities
Imagine switching your living room from a serene coastal landscape for summer to a warm, cozy family portrait for the holidays. Traditionally, that would mean buying a new frame, storing the old one, and drilling new holes. With an interchangeable system, you just peel out one fabric print and tuck in the new one. The entire refresh takes less than a minute.
This is the ultimate answer for how to hang pictures without damaging walls for the long haul. It's a perfect fit for:
- Growing Families: Effortlessly update school photos and family portraits as your kids grow.
- Renters: Make one minimal installation, then change your art as much as you like without ever touching the wall again.
- Decor Lovers: Keep your space feeling fresh with seasonal art, holiday themes, or just new pieces that catch your eye.
Tech That Protects Your Art and Your Walls
This system works because of advanced printing technology that creates art as durable as it is beautiful. Using a process called aqueous dye sublimation, inks are turned into a gas and permanently infused directly into the fabric fibers. The result is a stunning, high-definition image that’s scratch-resistant, peel-proof, and incredibly vivid.
Because the art is a lightweight, durable fabric, it’s a breeze to store and swap. You can roll up retired prints without worrying about creases, getting rid of the clutter of bulky, unused frames. This focus on durability and reusability makes it a much more sustainable way to decorate.
Security and Peace of Mind
Beyond sheer flexibility, security is a huge benefit. Improperly hung traditional frames are a common and surprisingly costly problem. Insurance data shows there are over 500,000 claims a year for damage caused by falling artwork. The FrameStory aluminum system is engineered to hold your art securely, preventing these accidents. Since its introduction, it has protected the art of over 50,000 customers with zero reported incidents of falling frames. You can learn more from the experts at Picture Hang Solutions and their insights on wall damage.
This isn't just about avoiding spackle and touch-up paint; it's about investing in a smarter, more adaptable way to display the art you love. You get the best of both worlds—a secure, high-end display and the freedom to change your mind whenever inspiration strikes.
This modern method truly redefines decorating your home. It’s a thoughtful approach that respects your walls, adapts to your life, and ensures your cherished pieces always look their best. For a deeper dive, learn more about our framed fabric wall art. It’s a lasting, beautiful, and endlessly flexible solution.
Your Damage-Free Hanging Questions Answered
Even with the best tools and tricks, a few questions might still be nagging at you. That’s perfectly normal. Let's tackle some of the most common ones to give you that final boost of confidence before you start creating your gallery wall.
What's the Strongest No-Nail Option for Heavy Pictures?
When you're dealing with a heavier piece of art, high-capacity adhesive strips are your most reliable bet. Top brands make strips that can hold up to 20 pounds per set, which is more than enough for most framed art.
The secret isn't just using one strip; it's about distributing the weight. Use several sets, spaced evenly across the back of the frame. And please, follow the directions on the package! That means cleaning the wall with rubbing alcohol and, most importantly, waiting the full hour for the adhesive to cure before hanging anything.
For something truly heavy or incredibly valuable, a picture rail system is the safest, most secure damage-free method. It cleverly transfers the weight to the sturdy molding near your ceiling instead of putting all the pressure on one sticky spot on your wall.
Will Adhesive Strips Actually Peel the Paint Off My Walls?
This is the big one—the number one fear we hear, and it's a valid concern. The good news: when removed correctly, high-quality adhesive strips are designed not to damage properly applied and fully cured paint.
The biggest mistake people make is ripping the strip off the wall like a band-aid. That’s a surefire way to take a chunk of paint with it. Instead, you need to pull the removal tab straight down, parallel to the wall. This motion stretches and releases the adhesive bond cleanly without yanking on the paint. Of course, know your walls. If you’re hanging on a freshly painted surface (give it at least a week to cure) or a wall that’s already peeling, your risk of damage goes up.
Can I Reuse Adhesive Strips or Hooks?
Great question. The adhesive strips themselves are strictly a one-time-use product. Once you stretch them during removal, they lose their special adhesive magic and won't hold securely a second time.
However, the plastic hook parts are absolutely reusable. You can simply buy packs of refill strips. It's a much more cost-effective and sustainable way to re-hang your art whenever you move or redecorate. Just always use a fresh strip for each new application to ensure your art stays put.
How Can I Hang Art on Textured Walls Without Nails?
Ah, textured walls—the arch-nemesis of adhesives. Surfaces like orange peel or knockdown are tricky because the uneven texture prevents the strip from getting the full, solid contact it needs to create a strong bond.
For something super lightweight, like an unframed poster, you might get away with it by pressing the strip firmly into the wall for a good 30-60 seconds, really trying to mold it to the texture. Honestly, though, it's a risky move. Leaning your art on a bookshelf or using a picture rail are much safer bets here. Another option is to look for hardwall hooks. These clever hangers use several tiny, sharp pins designed to slip into the drywall between the texture bumps, leaving nearly invisible pinpricks.
How Long Do Damage-Free Hangers Actually Last?
When installed correctly in the right environment, adhesive hangers can last for years. It all comes down to a few key factors that can affect their longevity.
The main things to watch for are:
- Weight: Keep your item's weight well below the hanger's maximum limit. Don't push it!
- Environment: High humidity (like in a bathroom), big temperature swings (a wall above a radiator), and direct sunlight can all weaken the adhesive over time.
- Surface Prep: This is the foundation. A clean, dry wall is everything. Any dust or oil left on the surface will compromise the bond from the very beginning.
It's a good habit to gently check on your hung pieces every so often, especially heavier ones, just to ensure they still feel solid.
At FrameStory, we believe your walls should be a beautiful reflection of your life, with the freedom to change as your story unfolds. Our unique system combines a durable, securely mounted frame with interchangeable, high-definition fabric prints, giving you endless decor possibilities without ever making another hole. We hope this guide on how to hang pictures without damaging walls has inspired you.
Discover a smarter, more flexible way to display your favorite memories by exploring the FrameStory system today.